• Skip to primary navigation
  • Skip to main content
  • Skip to primary sidebar
  • Skip to footer

The Brown Bag Teacher

Teach the Children. Love the Children. Change the World.

  • Bloglovin
  • Email
  • Facebook
  • Instagram
  • Pinterest
  • Twitter
  • Home
  • Meet the Teacher
    • Disclosures
    • Professional Development
  • My Classroom
    • Back to School
    • Differentiated Instruction
    • Distance Learning
    • Management
    • Organization
    • Technology
  • 1st Grade
    • Art
    • Daily Five
    • Guided Math
    • Reading/Literacy
    • Science
    • Writing
  • 5th Grade
    • 1:1 iPads
    • Book Displays
    • Community Building
    • ELA
    • On Demand Writing
  • Shop
  • Blog

December 18, 2014

Christmas Ornaments Kids Can Make – Parent Gifts

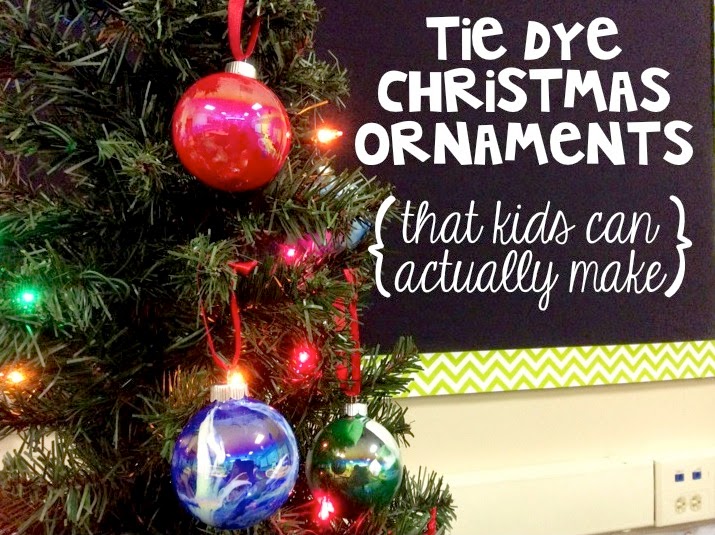
After our Candy Cane experiment yesterday afternoon, today we made gifts for our parents – tie dye ornaments.

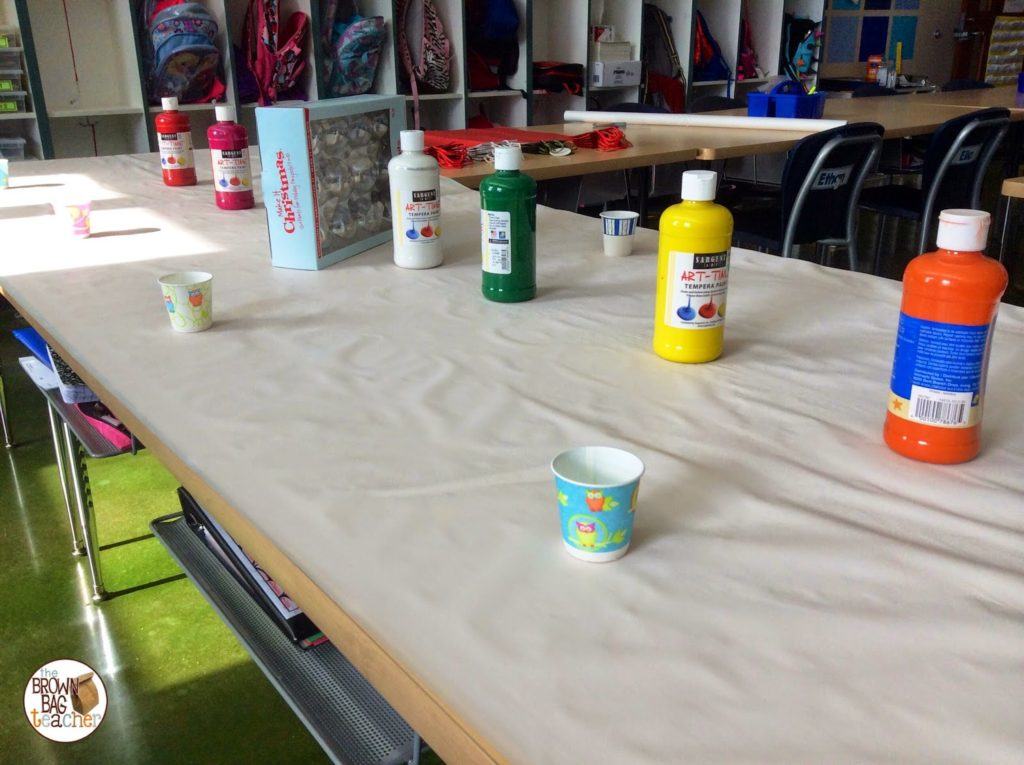
The supplies were fairly minimal – glass ornaments (mine were purchased from Hobby Lobby when Christmas goodies were 50% off), tempera paint (or acrylic with older friends), ribbon for a hanger, Dixie cups, rubbing alcohol, and table coverings. Before beginning your adventure, make sure to wash out all of your ornaments with rubbing alcohol – this will ensure that the paint spreads easily inside the ornament.

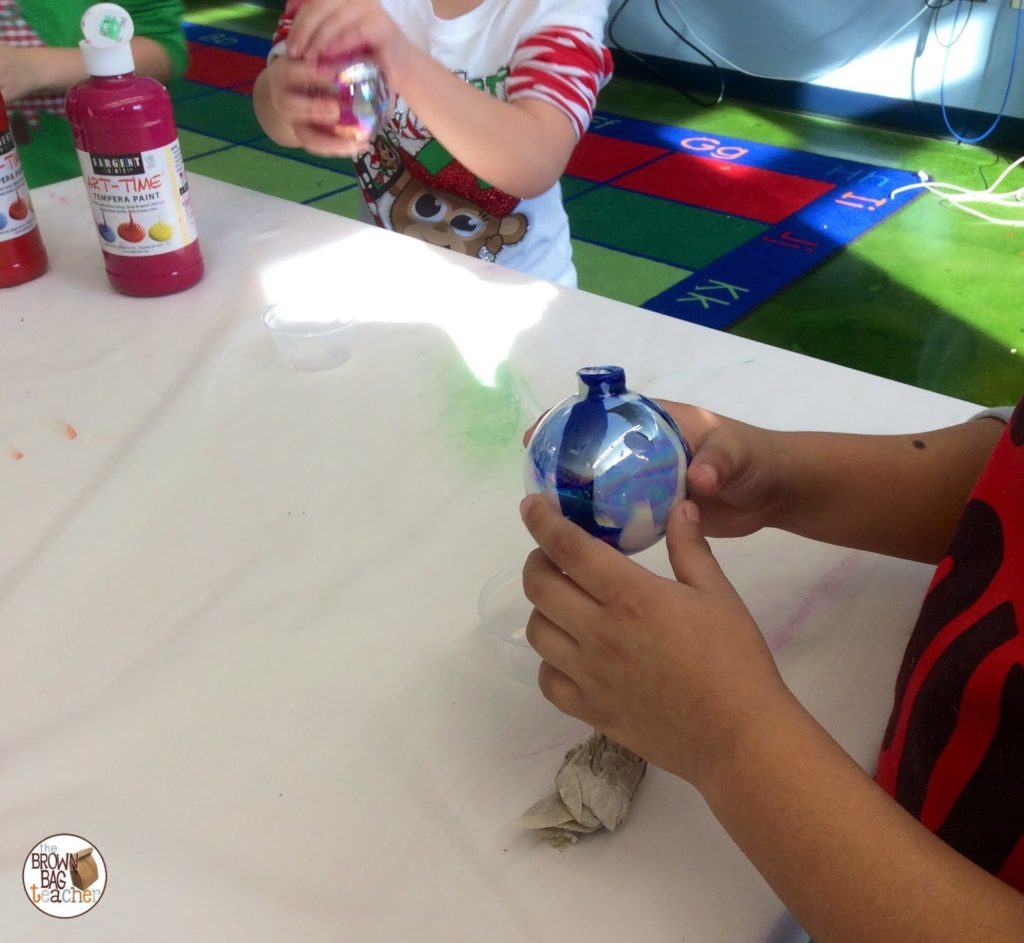
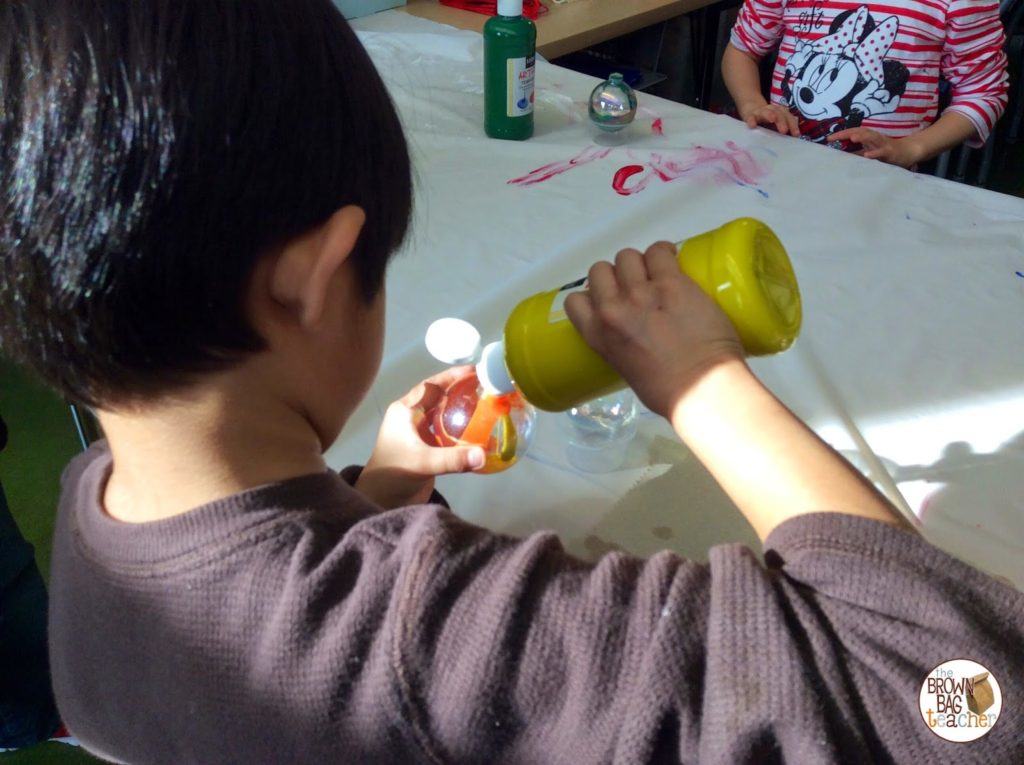
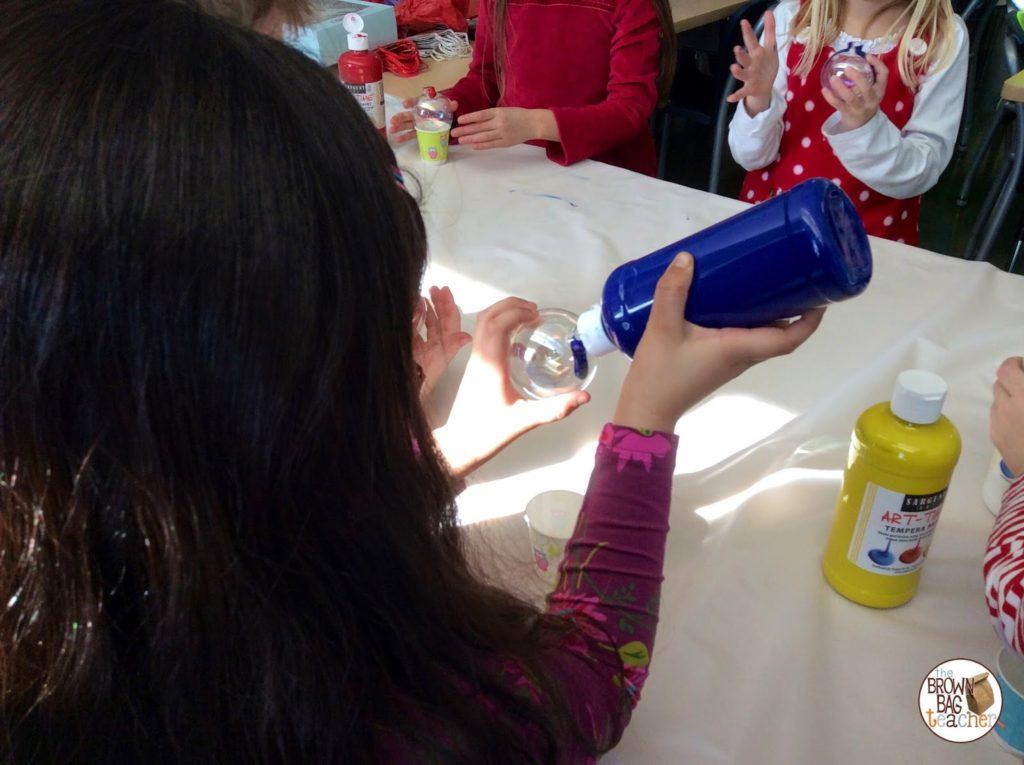
To make the ornaments, I split the class into 3 groups. While I was working with one group of 8, the other two groups were working in centers. When students joined me for ~25 minutes or so, I started by letting them choose 2 colors to use. Then, I modeled how to pour the paint in the ornaments – both the ornament and the paint at an angle. Since you want the paint to travel the side of the ornament, you want to tilt both as your pour. Before the students arrived, I had already removed the metal tops to speed-up the process. 

 Many students also opted for the shaken approach. πŸ˜‰ They poured paint into the ornament and then, carefully paced their thumb over the top of the ornament and shook for 5 seconds.

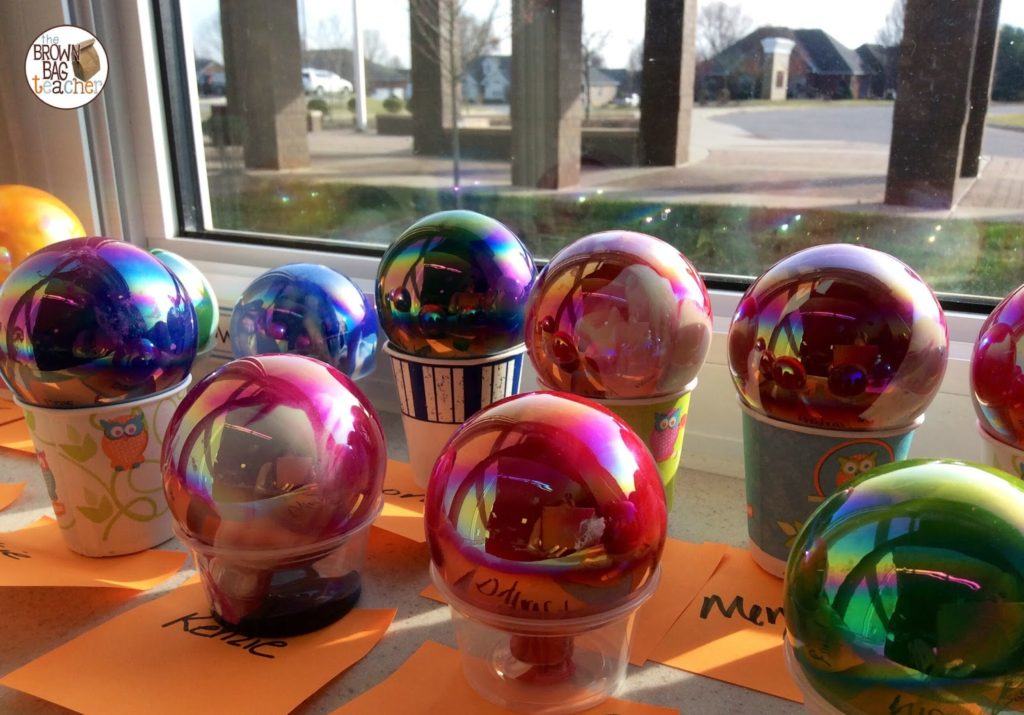
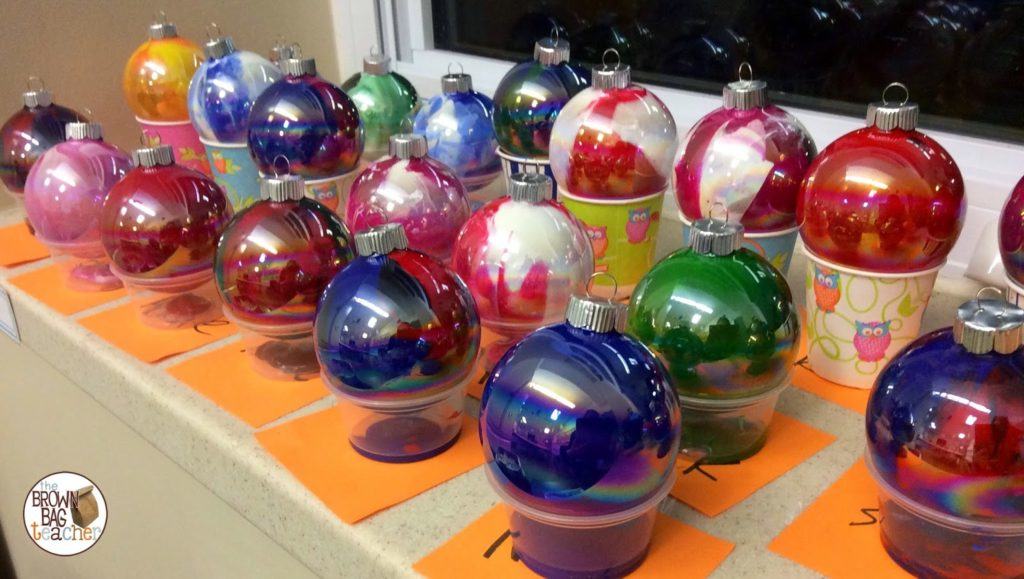
 When students finished their ornaments, they put their ornament upside down in a Dixie Cup in the window. The kids ended up using more paint than I did, so we needed to allow time for the excess paint to drain. Under each cup is a post-it note with the students’ name!

 After the ornaments dried, I put the put tops back on the ornament. BEWARE – do this yourself. Working with the tops, I broke 1 ornament…so I cannot imagine if my friends attempted this.

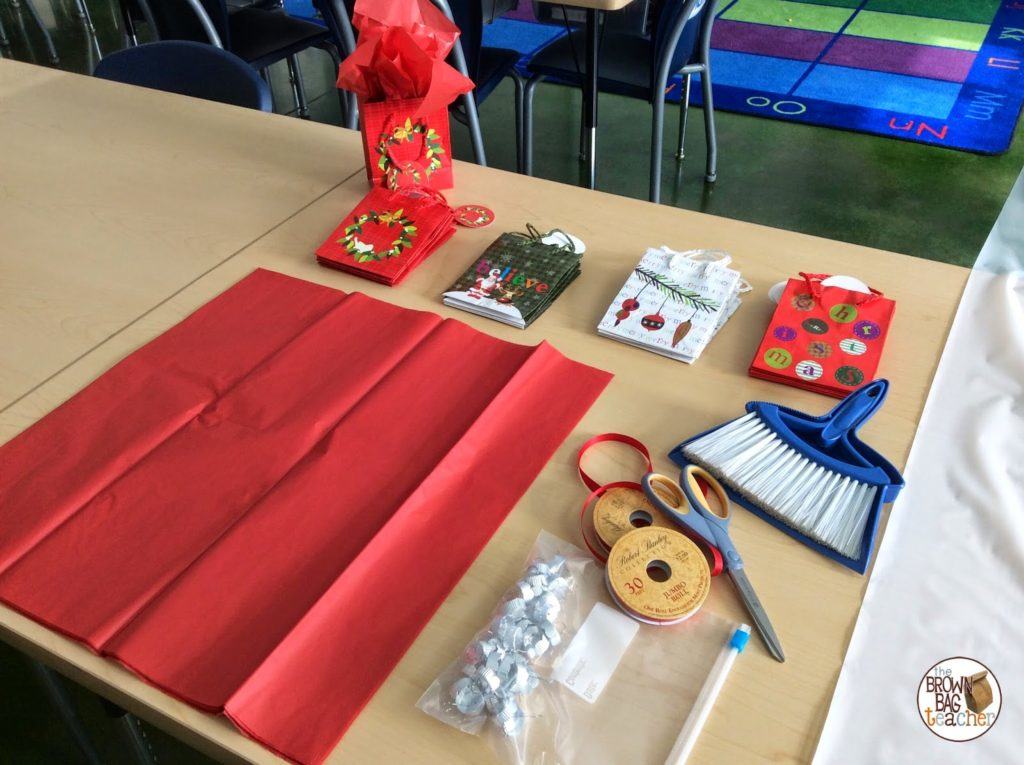
 Tomorrow, we’ll take 5 minutes or so to wrap our gifts. Our mini-gift bags were 3 for $1 from Dollar Tree and small ribbon for the ornament hangers from Hobby Lobby. (Note the handheld broom for any ornament causalities…there was only 1 causality today; fingers crossed for tomorrow).

 There you go! Overall it was a simple process. It definitely needed to be done in small groups and if you try it with your students, I would do a trial run yourself first. It’s one of those crafts that you need to try before teaching others how to do it. πŸ˜‰

Do you do parent holiday gifts? What are your friends doing this year? I’d love to hear! πŸ™‚

Join me for weekly classroom updates and free resources that are just-right for your guided math classroom!
Sweet! Thanks so much for joining me. Now check your email to confirm your address & snag your freebies. Happy Teaching! -Catherine

There was an error submitting your subscription. Please try again.

Powered by ConvertKit

Related Posts

  • Contraction Surgery
  • A 1st Grade Morning Work AlternativeA 1st Grade Morning Work Alternative
  • Snow Day Learning Ideas
  • Compound Words: Construction Style

Filed Under: 1st Grade, Art, Tips & Tricks Tagged With: 1st Grade

Reader Interactions

Comments

  1. elainaann says

    December 19, 2014 at 6:23 pm

    Those are so pretty! And how brave of you. I would not trust my students this year with glass ornaments and paint. πŸ™‚

    Reply
    • Kate says

      December 26, 2014 at 12:26 am

      Hahahaha – touche! πŸ˜‰

      Reply
  2. Jen C. says

    December 21, 2014 at 10:23 pm

    Love this! Pinning for next year and headed to Hobby Lobby to stock up after Christmas πŸ˜‰ I just hope I remember them in a year…hehe

    Reply
    • Kate says

      December 26, 2014 at 12:26 am

      Oooo – love the idea of buying the ornaments right after Christmas. πŸ™‚ Thanks for the suggestion, Jen!

      Reply
  3. AStevenson says

    December 16, 2015 at 11:05 pm

    What type of paint did you use?

    Reply
    • Kate says

      December 16, 2015 at 11:19 pm

      I just used Tempera paint from Hobby Lobby!

      Reply
  4. Melissa Gaitsch says

    December 17, 2015 at 12:55 am

    When you wash them with rubbing alcohol, do you then rinse with water or let them dry?

    Reply
    • Kate says

      December 17, 2015 at 12:58 am

      Hi Melissa! I just made them this year and I totally the rubber alcohol until we were starting. I just put a splash, swirled it around, and quickly drained them. Then, we put paint in them within minutes. It made them a little more slick (and more paint pooled to the bottom) but still worked! We're letting our ornaments drain tonight. πŸ™‚

      Reply
  5. Leigh says

    December 11, 2016 at 6:07 am

    I know this is an older post, but I was wondering if clear plastic ornaments could be used instead of glass?

    Reply
    • Catherine says

      December 13, 2016 at 10:58 pm

      Hi Leigh! Yes, plastic ornaments work as well. πŸ™‚

      Reply

Leave a Reply Cancel reply

Your email address will not be published. Required fields are marked *

Primary Sidebar

My name is Catherine Reed, and I am in my 8th year in elementary life, residing in small-town, Kentucky. Β I student taught in 1st grade and never ...

Read More

Find it Fast!

Join Me!

Join me for weekly classroom updates and free resources that are just-right for your guided math classroom!
Sweet! Thanks so much for joining me. Now check your email to confirm your address & snag your freebies. Happy Teaching! -Catherine

There was an error submitting your subscription. Please try again.

Powered by ConvertKit

Don’t Miss These!

Working together to meet a goal builds classroom community & encourages teamwork. As a PBIS school, check our our 20 favorite nonfood, low-cost rewards!

20 Positive Behavior Rewards that Aren’t Food

Guided Reading offers students intentional reading instruction with texts that are just a little too hard! From lesson planning to benchmarking students to word work activities, check out these awesome ideas to make Guided Reading work!

Guided Reading: 1st Grade Style

Weekly Lesson Planning Routine

Overwhelmed by math centers? Check out these SIMPLE ideas for create predictable patterns and routines that allow for streamlined planning!

Managing Math Centers

Wordless Picture Books

Categories

Archives

Footer

This error message is only visible to WordPress admins

Error: There is no connected account for the user 856217913 Feed will not update.

  • Bloglovin
  • Email
  • Facebook
  • Instagram
  • Pinterest
  • Twitter

Join Me!

Join me for weekly classroom updates and free resources that are just-right for your guided math classroom!
Sweet! Thanks so much for joining me. Now check your email to confirm your address & snag your freebies. Happy Teaching! -Catherine

There was an error submitting your subscription. Please try again.

Powered by ConvertKit

The Brown Bag Teacher © 2021Built with and Genesis Framework by Bellano Web Studio