Hi, Friends! I have SO many projects to share with you and the best part is that they all match! Woohoo – I am all about things that match….like I will do ridiculous things (i.e. cutting out 78 circles) for ‘matchedness’.
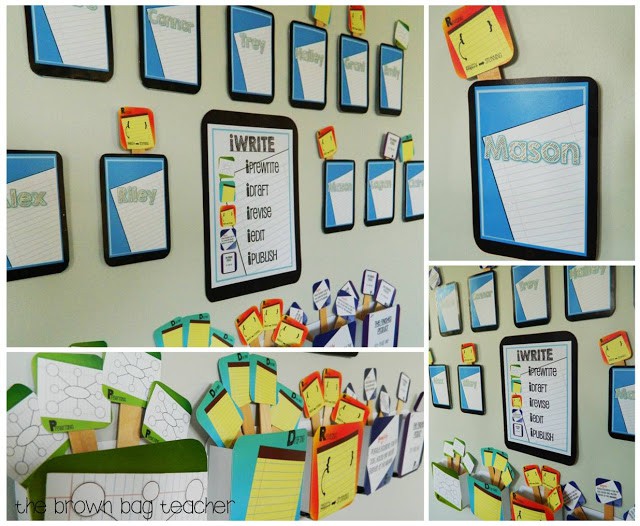
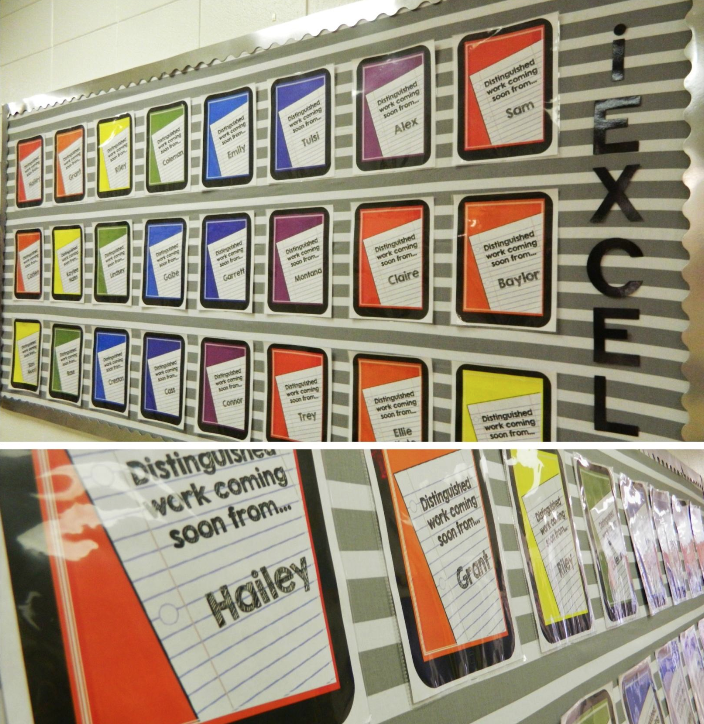
In an ideal world, I would be able to meet with all 28 of my students during each 40 minute writing period. Realistically, this is not possible, so I decided to create a way to have a quick visual reference at the end of each period to chart the progress of my students. Using this charting system, I can make a plan of ‘attack’ for conferencing with students the next day (i.e. is Speedy Speedster flying through his/her piece paying little attention to the organizer or is Dilly Dally stalling in the writing progress because he/she is confused). Each student had his/her own pocket, and at the end or beginning of each class period moves an ‘app’ stick to the pocket to focus himself/herself, as well as, to let me know where they are at.
I saw this awesome idea by Melanie on Pinterest and she gave me the go ahead to create my own version! Since I am a 1:1 classroom, it is important for me to fully integrate technology and iPads in all aspects of the classroom, so iWrite was the perfect to do this. This charting system holds every student in my classroom accountable for working through the writing progress. Additionally, it provides me with a visual representation of the ‘big writing picture.’ [Click on the picture or here to learn more!]


If you follow me on Facebook, then you know that I have been designing binder clips inspired by this pin. I wanted easy to make and matching labels for my student mailboxes. I bought 1 inch binder clips (I really should have used 2 inch clips but they were 4 for 1.59 or I could buy 12 one inch clips for 1.59 – easy choice), printed out tiny labels, laminated the labels, and attached them with this glue. I {love} this glue. It is made by the Super Glue company and I am SUPER impressed with it. 🙂

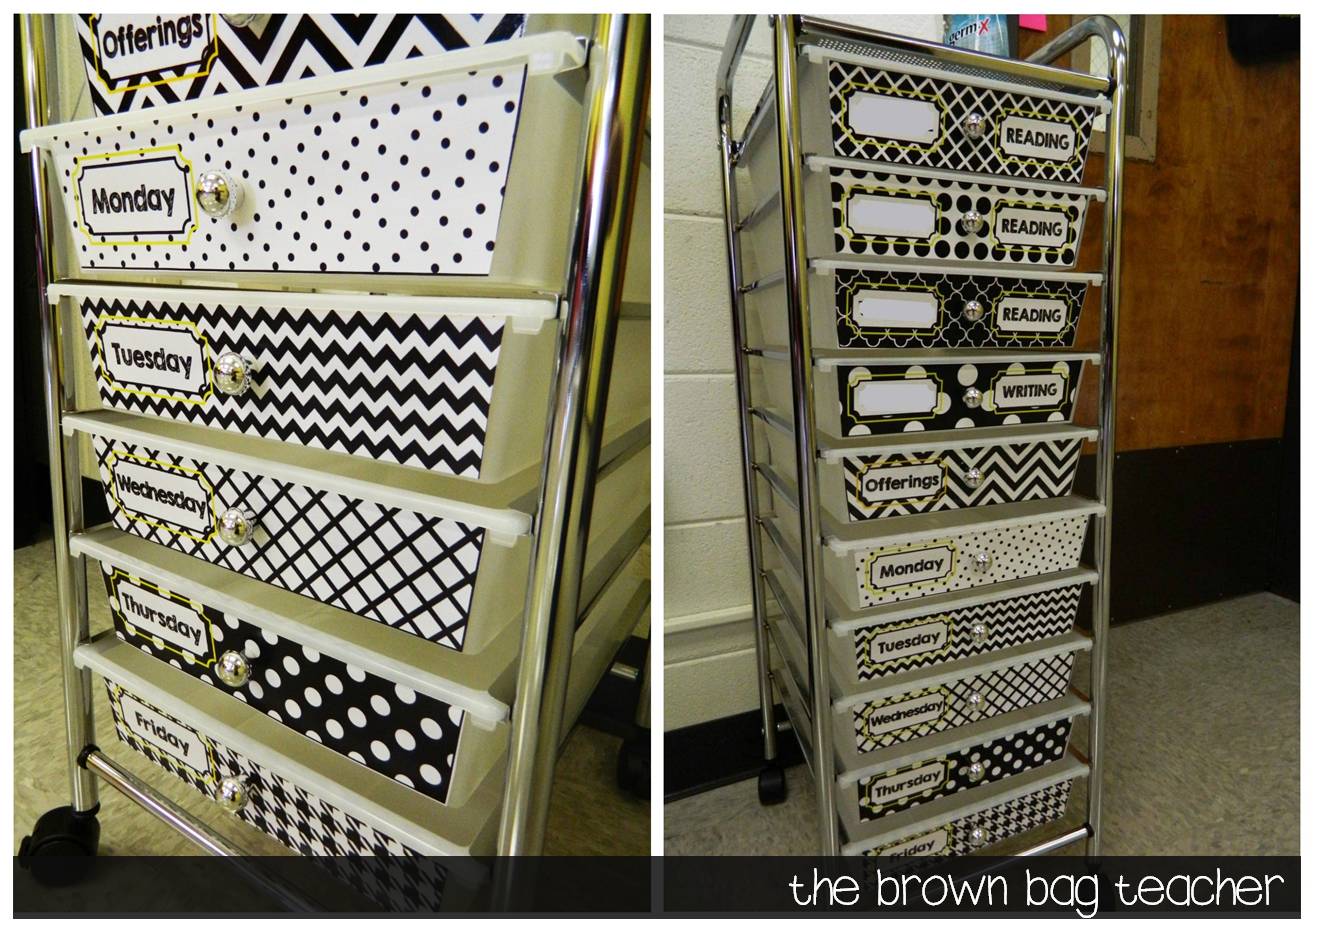
In the middle of May, I was shopping for almonds at Sam’s and spotted a 10-drawer rolling cart for $24!!!! This week, I made some snazzy black/white/yellow labels for each of the drawers and I am very happy with them! This is where students will turn in their work each day, and then, the last 5 drawers are where I’ll store my materials for each day.

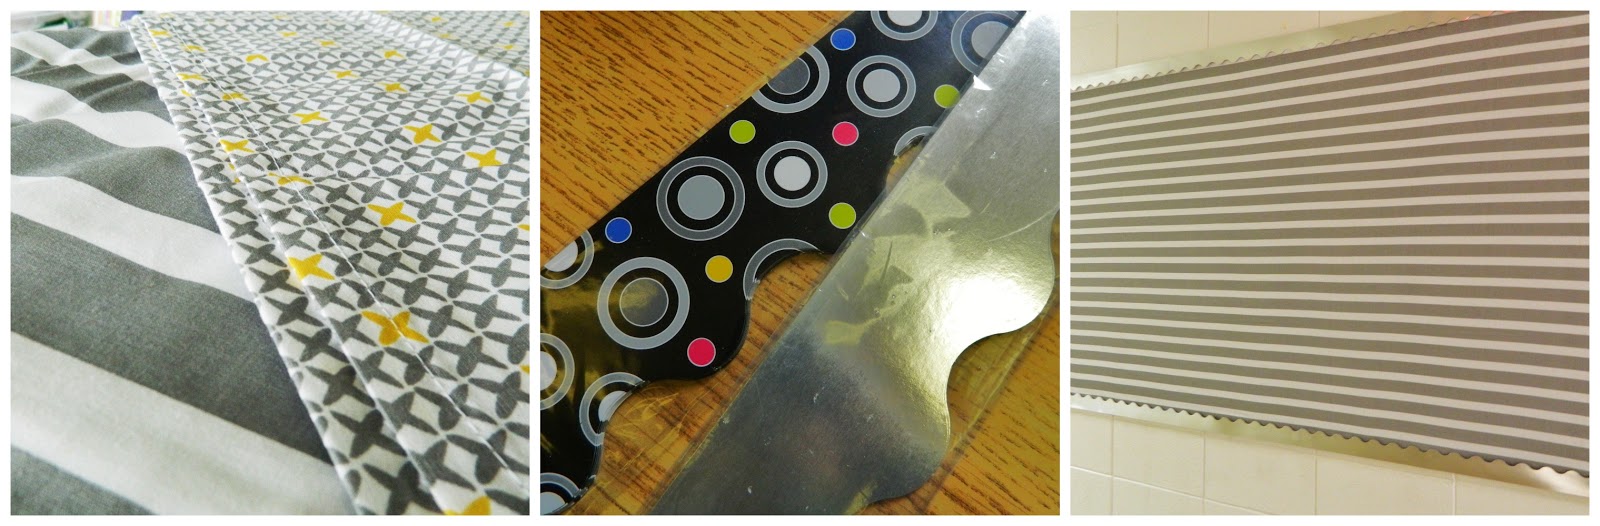
Last week, Target had sheet sets on sale, so I picked up two sets of grey sheets. I spent foorrrever ironing, picked up some border with a Parent Teacher Store gift card, and then, got to work. A word to the wise – NEVER put striped fabric on a bulletin board. If you are compulsive {even the tiniest bit}, you will spend forever trying to get them ‘just-right’. It makes me twitch to think that in less than 30 days students will be leaning on my fairly perfect stripes making them not-so-fairly perfect. This is my outside bulletin board, so student work will be displayed here throughout the year using these iExcel templates.

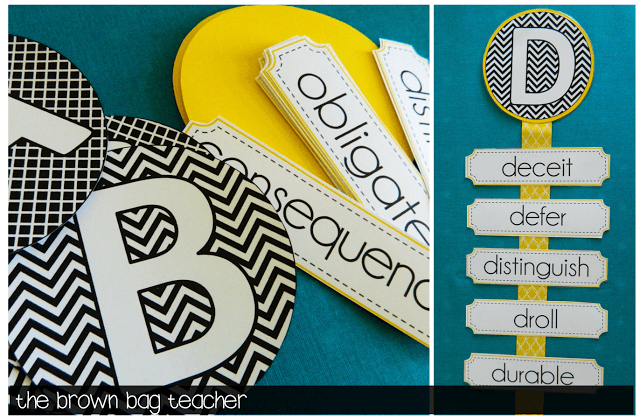
I spent my Sunday cutting circles…a lot of them. Seeing that I do not have one of those snazzy circle cutters, I had to do it by hand. Over and over I had to remind myself…it’s for the children, it’s for the children – ha! Last year in 5th grade, class times were cut short and there was no spelling or vocabulary. Now, I have not gained any time, but know that vocabulary is a HUGE part of the Common Core and state tests, so I want students engaging with and grappling with new vocabulary on a weekly and daily basis.With that said, I really want to do it in an authentic way…I do not want to throw a list of words at them. So, I am going to use an interactive word wall this year where students learn 8 new words each week – 2 ‘Teacher Choice’ words and 6 ‘Student Choice’ words.Throughout the school year, my students submit vocabulary suggestions from their own reading, using a quick and easy form. From these requests, I pick 6 words each week to include on the wall. The first 2 weeks of school, I pick all 8 of the vocabulary words as I ‘train’ students to use this system. This weekend, I got my system together and printed everything, and I {love} it! I cannot wait to hang it on Tuesday. 🙂 Look…it matches?!?!?! [Click on the picture or here to learn more!]
Love!! It looks so great!!!
I bought one of those carts the other day, and I love your trapezoid labels. I am also in love with the black and white, though they don't match my room. How in the world did you do that? And how did you get them to stay on the drawers? Are they taped or glued or contact-papered? I want to make new labels for my drawers now!
Erica
Blooming In First