

The afternoon before I commissioned my Leaf Hunters, we enjoyed We’re Going on a Leaf Hunt together. Put to the familiar tune of “We’re Going on a Bear Hunt”, “Leaf Hunt” it was a simple and fun way to introduce many different types of trees and leaves, as well as, put our learning in context.

The next afternoon, we spent our theme time exploring and investigating the leaves my friends brought to school. I placed 5-6 leaves on each of our tables and students carouselled around the room observing the leaves and touching them (with only 1 finger, so we didn’t crush someone else’s leaf). We then measured the leaves with cubes (non-standard measurement is a 1st grade standard) and we did some casual experiments with leaves and water (do they float? do they sink?).

After we observed the leaves, we brainstormed adjectives to describe the leaves. We are learning how to use our 5 senses to write narratives, so using adjectives to describe our leaves was a perfect science-writing connection. Rather than illustrating our leaves (which would definitely test our artistic abilities), we did leaf rubbings. WARNING – Children born in 2010 have never done leaf rubbings before!!!!!! My little KC asked me – “Can you do this on the iPad?” #facepalm If you decide to do rubbing be completely prepared with ample amounts of patience and a step-by-step plan for how to do a rubbing.


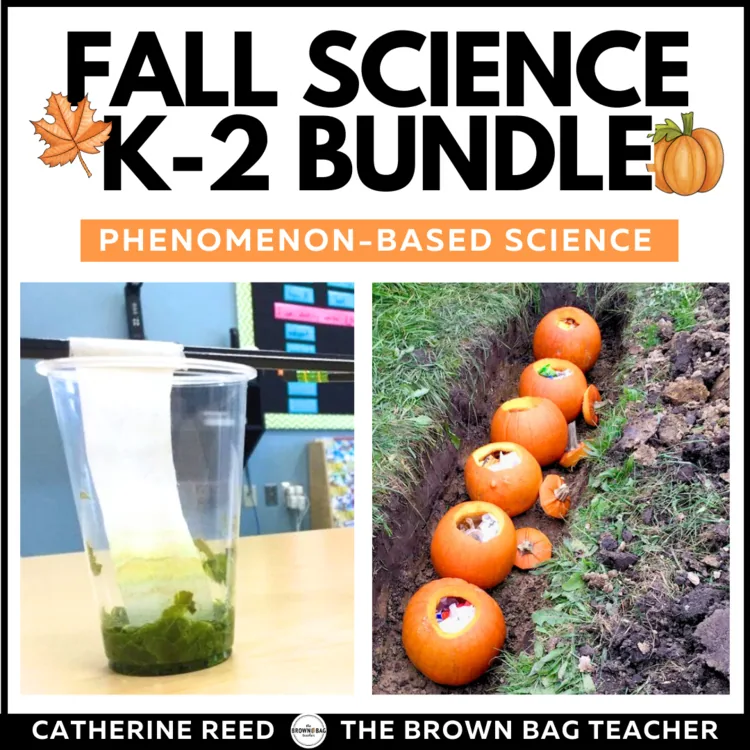
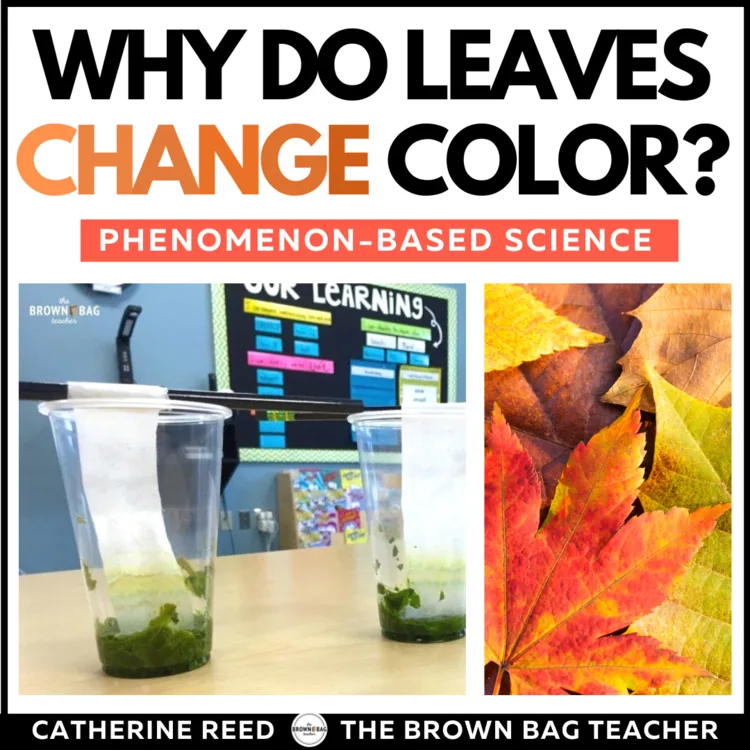
Hoping to answer our question, we set-up a lead chromatography experiment…1st grade style! I collected 3 plastic cups and 3 sets of leaves (4-5 leaves from the same tree in each set). Then, I snagged pencils and coffee filters to act as our chromatography paper, plastic spoons for mashing, and rubbing alcohol for chemical in charge or extracting pigment from the leaves.

We split into 3 groups, each group responsible for tearing their leaves into tiny pieces and putting the pieces in their cup.


Observing our chromatography strips, we realized that different colors had been in the leaves after all! We were able to see green, yellow, and brown in our leaves (even though the leaves only looked green at the beginning of the experiment). But now, we needed an explanation. How can a leaf have all of those colors inside but still look green? To explore this question, we read Why Do Leaves Change Colors by Betsy Mastero. This is a book perfect for primary learners – lots of science and explanations but not enough to overwhelm or confuse!

After reading the book together and making the connection to our chromatography strips, students went back to their writing journals and wrote their own explanations for our guiding question – “Why do leaves change colors?” Then, we came back to the carpet and wrote a class definition.

We learned that during the summer months, the leaves are making food which makes the leaves look green. This green color hides the other colors in the leaves. During the fall, the leaves get less light so they are not making as much food, and the leaves loose their green color. As the green color becomes less, the other colors in the leaves start to show. This is pattern that continues each season! Click below or here to snag these resources for your classroom.
This was a simple way to make a huge impact. Plus, it made our world a little more magical – who doesn’t love knowing that leaf colors are ‘hiding’ until the onset of Fall, when our world becomes considerably more colorful!

7 Responses
Great lesson! Something this "magical" is sure to be remembered. 🙂
Jenny (I stood behind you in line to get into TPT Vegas this year!)
http://captainplan-it.blogspot.com/
WOW! …coming from a teacher (ME) who is deathly afraid of science…this looks like a BLAST! Going to step out of my comfort zone and give it a try! Thanks!!!
My kids and I have been talking a lot about leaves…this is the perfect experiment for us to try!
Thank you for doing it step by step! 🙂
Magically in First
You are an amazing teacher!! Coming from middle school, and then 5th and 4th, you have helped me so much with figuring out how to teach my firsties! Thank you!
You are an amazing teacher!! Coming from middle school, and then 5th and 4th, you have helped me so much with figuring out how to teach my firsties! Thank you!
Thank you for your fantastic holistic leaf lesson. I am going to use this in my first grade class tomorrow and Thursday. Cross your fingers that our leaves work as well as yours. I appreciate how simple, yet perfectly rounded your ideas are.